Create a Moleskine PDA: The Student GTD Hack
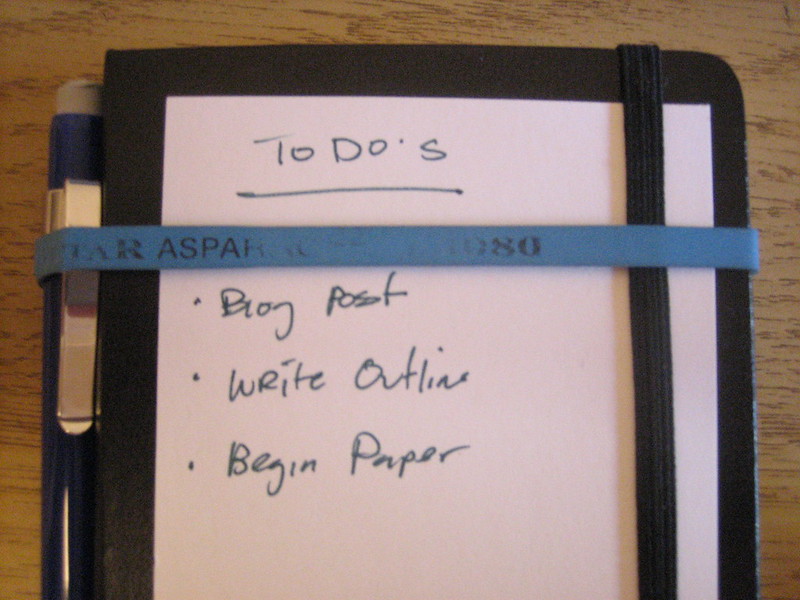
A couple weeks back, I stumbled upon what seems like a small culture of people who have backed away from the “pure paperless ideology.” They are using small notebooks (Moleskines) to manage the tasks and projects in their lives. I’ve researched a bunch of various methods and learned a little about David Allen’s “Getting Things Done (GTD)” methodologu so that I could come up with a hack of my own and one that would work well for the life of a student doing research.
I am not super organized so this is not natural for me. It took me some time reading and brainstorming how I could make system that would be work for my needs. But I am beginning to think that I work best with paper and pencil as my primary mode of keeping track of things.
A Quick GTD Introduction:
There are a number of posts you should look at if this is your first time hearing about making a Moleskine for GTD purposes. I’ve done a lot of reading and spent time to think about what would work best for me, I encourage you to do the same.
Here are some great posts that I used while creating my system:
- Hacking a GTD Moleskine – Hyalineskies
- Getting/Staying Organized: my Moleskine PDA
- PipPog – A Moleskine Hacked Into a Compete System
- 5 Steps to Capturing and Story Your Ideas
- Moleskine Hacks from 43 Folders
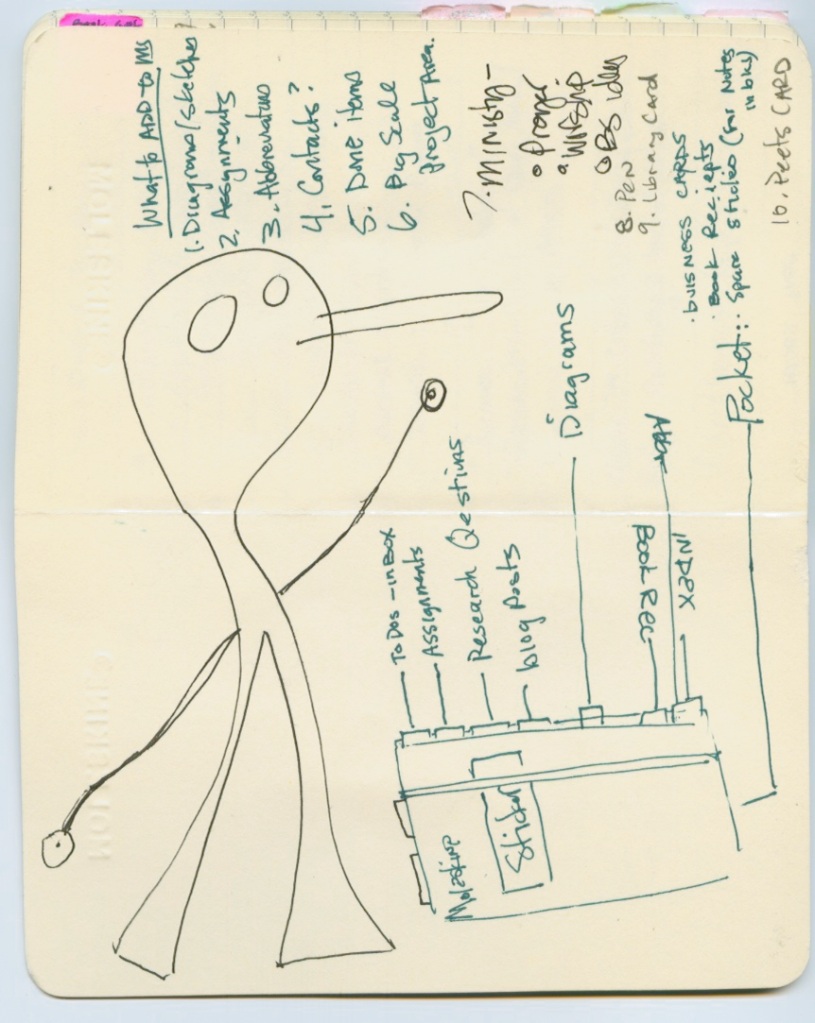
Come Up With Your Own System (using other people’s ideas): Brainstorm what you need your notebook to do. Think of the things you normally try to keep track of, or wish you did keep track of. Contextualize your notebook, “What are you trying to accomplish?” The picture above is what my brainstorm looked like.
Get Your Gear
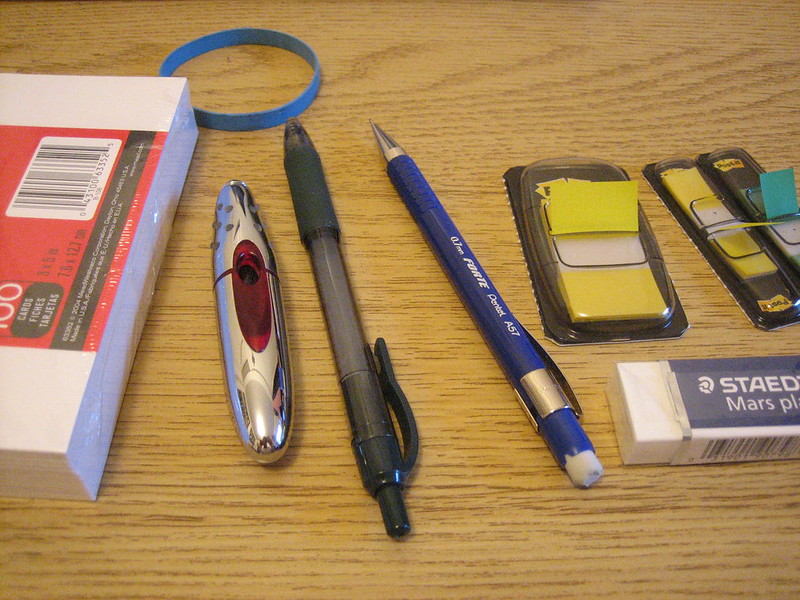
Writing Utensils That Work With Moleskines:
I have found all three of these to work well the Pentel Forte Mechanical Pencil .07mm, the Zebra Sarasa and the Cross Ion. For my Moleskine PDA I am mainly using the pencil because I like to be able to erase as needed.
Other items: Asparagus Rubber band | Eraser | Apple Sticker (to decorate the back) | 3×5 Index Cards | 3m Stickies (thin and thick ones)
Also, obviously, you need a Moleskine. I prefer the Pocket Grid Moleskine, but pocket ruled/lined is great as well.
Setup the Basics
1) Fill out your front page
Here I’ve put my contact, alternate and emergency information. I also filled out the reward line in case it gets lost. For the contact info, it has my name, email. For my emergency contact information I put my wife’s information, and in my alternate info section, I put my website and cell number.
2) Fill out the Backside of the front page
On the backside of this contacts page write “abbreviations” at the top (I am also thinking about adding a definitions section here as well). This will be for all your reading/note-taking abbreviations you come up with and want to hang onto (more on this later).
3) Flip to the very last page in the Moleskine
Here is where I have setup a page on ‘Index for Topics.’ I’ve drawn a thin column on the left side, for the page numbers and the topic names go on the right side.
4) Number every odd page and write the date you begin the new notebook on the bottom right side of the Moleskine
Make Sections Using Sticky Tabs
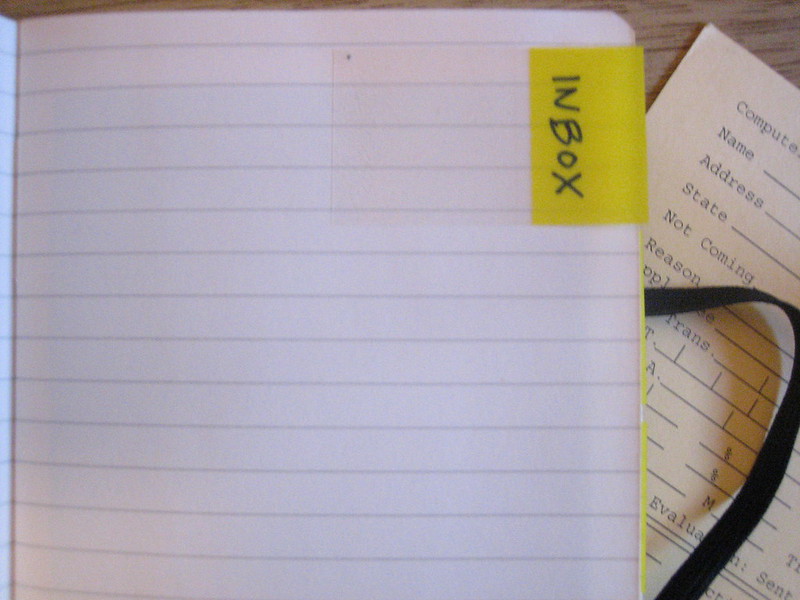
Inbox – this is the first section I turn to with things that I need to do, websites to look up, dates to add to my calendar, bills I need to pay. This section is basically the catch-all, everything in this section is going to get processed and put somewhere else later. In terms of tab placement I just took a guess at how much I would need in each section, I put the first tab on page 5 just to give some room to start with. I also make sure the tabs aren’t sticking out too far from the page, I hate having my tabs all bent up.
One thing I picked up from GTD is the context column (See PigPog). This is where you write out the context in which you’re going to be processing the things on the list. When I am at my mac I quickly check any line followed by @mac, when I am running errands I look for the @car context. This just helps to quickly spot what you need to do where. I have tried to keep my contexts as general as possible here are my main categories @mac @home @work @school @car @cell.
Projects – is the section where you can keep track of notes, todo’s, contacts, etc on large scale projects. Usually things from your inbox will got into this section when you have time to process it. Currently one of go to project pages is for my summer trip to Birmingham (UK), so information pertaining to this trip, and things I need to get done are found there. I put the projects tab on page 57.
Research – this is one of the main student specific sections within my system. Here is where you write notes, ideas, draw pictures, brainstorm (for your upcoming seminar papers) and write out research questions. I use symbols to delineate ideas and questions, so they don’t get lost in the shuffle. The research questions are important to me because I often hear things in lectures and conversations and see things while reading that raise thoughts I deem important to look into. In fact, I considered having a separate section for these questions, but that seemed to make it more complicated than necessary so I adopted a symbol system (explained below).
Blog – this is where I try and keep up with all my writing for this site. It’s basically a glorified to-do list. I write out as much of an idea for a post as I have at that moment (so when I return to it I remember the main points). I also use a big sticky note to add or modify a listing, the sticky note works as callout. I started this on page 155. Oh and another important tip is that my blog post section only uses the front side of the paper. This enables me to have more room for my final section.
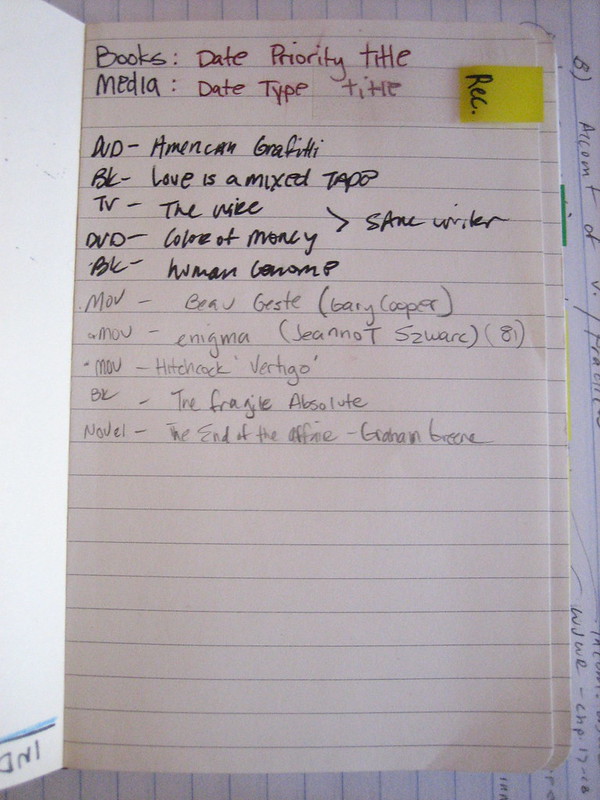
Flip the Moleskine Over on Its Backside
The final tab is super important for the student hack. It’s a quick access section for Book recommendations. I’ve taken it a bit further by adding symbols to delineate DVD and Music recommendations as well, but the essential part here is to keep track of book, article and journal info. I am always coming across really interesting authors and books and need a way to keep track of them until I can look them up later – this section is my quickest growing category.
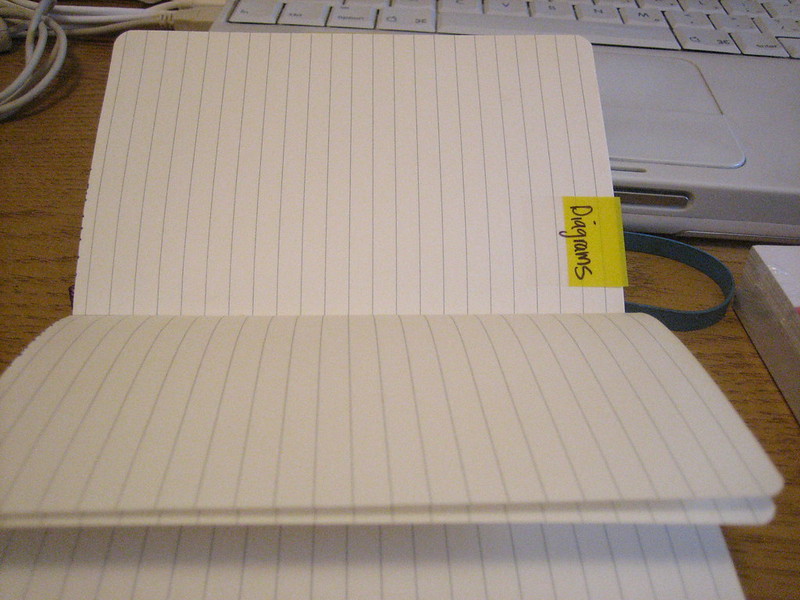
The Optional Diagram Section
One final idea I had, not sure whether I will use it or not just yet is the diagram section. Earlier I noted that you could draw your diagrams and brainstorms in the Research section, but if you want to have a separate section for this here’s what you do. Put a tab on the top of page 127, and then turn the Moleskine horizontal to give yourself a bigger drawing area.
Index, Abbreviations and Symbols Explained
The Index Page (very last page): This index is for mapping where things are in your Moleskine. Probably the most useful way to go about doing this is to use it for grouping items. An example of this would be to write out the pages where ideas and questions are about my research on Alasdair MacIntyre. So on the index page I’d write ‘MacIntyre’ in the right column, and all the page numbers on the left side.
The Abbreviations page (backside of the contacts page): Here is where I write down abbreviations I come up with as I read and take notes. In undergrad I borrowed a shorthand method of taking notes from a fellow classmate and friend. Since that time the margins of my books and my notes are filled with these little symbols and abbreviations. When I come up to new people, or ideas that I see repeatedly I turn it into a shorthand – my Abbreviations page will be where I keep those until I move them to my computer.
This works for me but if it’s not for you don’t worry about it, you can use it for something else. Or even consolidate the next item onto this page.
The Moleskine Key: Use a piece of card stock or an index card for a key to your notebook (It works well for an extra bookmark also).
There is a good chance you’ll be coming up with symbols and shorthand for things located in your notebook. For instance – I use an exclamation point in a circle (!) at the beginning of a sentence to delineate an idea, double question (??) marks to delineate research questions. All these symbols go on my key so I can keep track of them.
I like having the extra bookmark, so this works fine for me, but you could also put this key on the abbreviations page or on the index one.
The Back Pocket
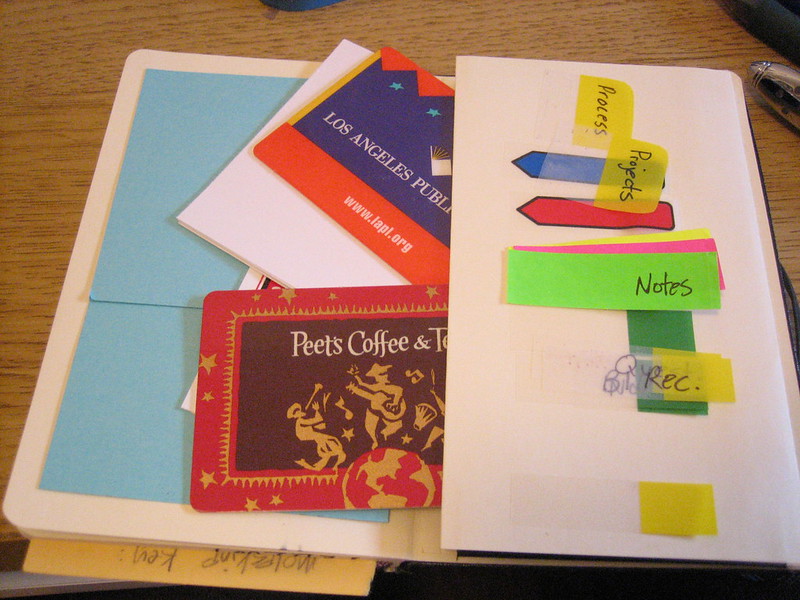
Everyone knows that one of the coolest parts of the Moleskine is its back pocket. You can stuff full of great tricks that you might need throughout your day of being a student.
Here are some things you can keep in the pocket:
- A Couple Spare Thin Stickies (stuck to the pocket itself)
- A Couple Big Stickies (for callout boxes)
- A Couple Blank Index Cards
- A Couple Moo Cards*
- Your Library Card
- One Peet’s Coffee Card
*One of my professors told a group of PhD students to get personal/business cards to hand out to people you met with relevant contact information as a big part of academia is making connections with people.
Moving it to the Digital World – Mac Software for GTD
So you’d like to move everything on to your computer? Here are some links to things that can be useful.
If you own a Mac you can use Stickies to match your sections from your Moleskine (a friend gave me this tip).
I love using the online calendar and todo service called 30boxes and it works well for my system.
The Mac program Devonthink is the super powerful data management software, I love it and so do a lot of other academics.
Actiontastic is GTD software built for the Mac that works wondefully and ActiveCollab is open-source web based program for tracking projects and todo’s (it’s similar to basecamp)
Finally, when you get a moment join the Flickr Moleskine groups, and she what others are doing with theirs! My Moleskine | Moleskinerie | One Page at a Time